10 Tips for Clearing Out Your Garage
Clearing out your garage is one of those tasks many homeowners keep putting off. Over time, it becomes a holding space for old sports equipment, broken appliances, holiday decorations, and mystery items you haven’t touched in years.
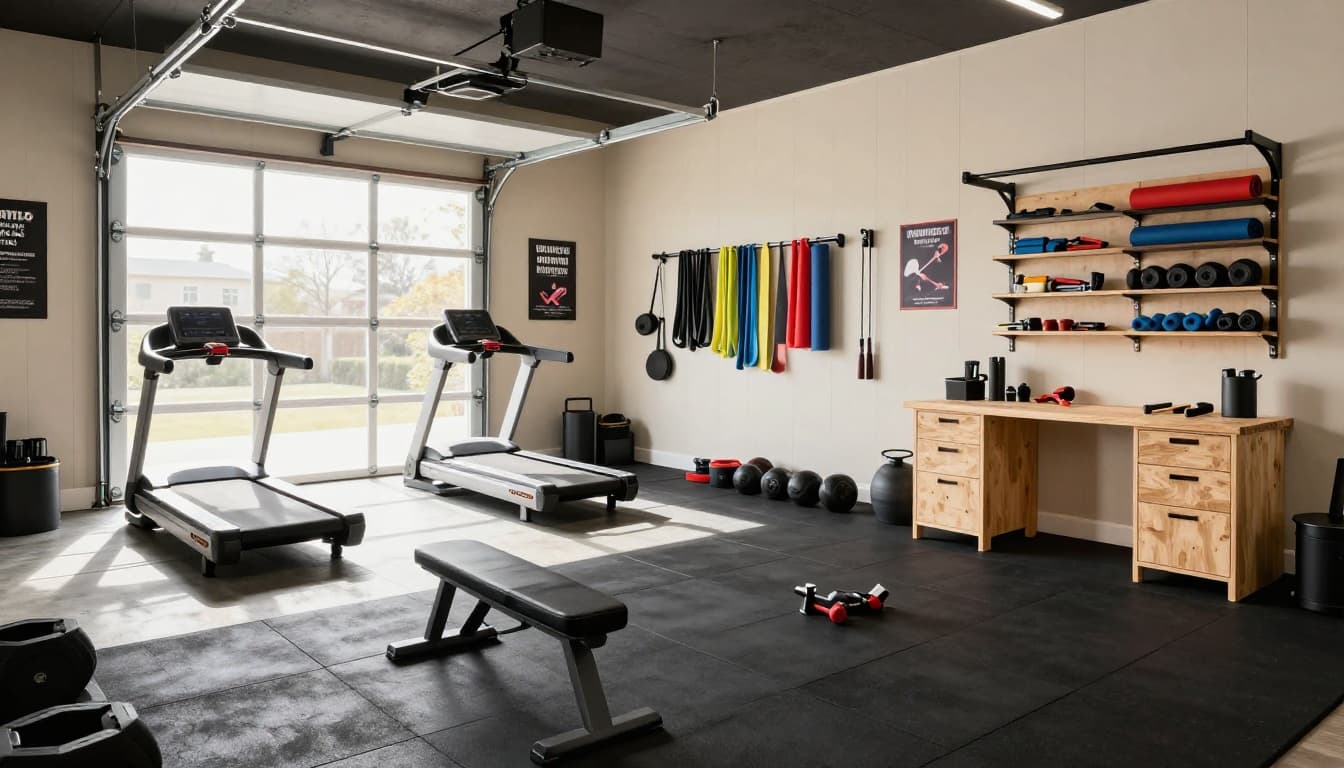
Maybe you’re preparing to move. Perhaps you want to turn the garage into a workshop, gym, or usable storage space. Or maybe you simply want a fresh start.
With a clear plan and the right mindset, clearing out your garage is completely achievable.
Quick Garage Cleanout Plan
- Decide your goal
- Empty everything out
- Deep clean the space
- Sort into four categories
- Install smart storage
- Set a maintenance routine
If You Only Have 30 Minutes
Start here:
- Clear one small section, not the whole garage
- Fill one trash bag
- Create just the four sorting piles
- Sweep one visible area
Momentum builds motivation. This lowers resistance and increases action.
Now, let’s break the full clear out down step by step.
1. Set a Clear Goal
Before you move a single box, decide what you want your garage to become.
Do you want it strictly as a space to park your car or some extra storage space to free up your house? Maybe you want a workshop, a creative studio or a home gym?
Whatever your plan, having a defined goal will guide your decisions as you sort through items and make space.
When your purpose is clear, it becomes much easier to decide what stays and what goes.
2. Empty the Garage Completely
It might sound over the top, but the most effective way to clear out a garage is to remove everything.
It can be tempting to leave some things in place that you know will stay, but it’s best to start with a completely clean slate and fresh perspective.
Pull all items out into your driveway. Yes, everything.
Seeing it all laid out in one big heap forces you to confront how much you’ve accumulated and prevents you from simply shifting clutter from one part of the room.
3. Clean It Top to Bottom
Now your garage is empty, this is the perfect time to give it a thorough clean.
Get rid of all those cobwebs dangling from the ceiling, sweep the floors and wipe down all surfaces. You’ve probably never seen your garage looking this shiny and new, and it will give you a whole new vision of what can be done with the space given the requisite time and effort. If you’re planning to use the garage for parking or as a workshop, this is also a good time to think about safety fixtures like dome mirrors to improve visibility in blind corners.

4. Sort Items Into Categories
Now sort your belongings into four main piles:
- Keep
- Donate
- Sell
- Junk
Be honest with yourself. If you haven’t used something in years and it has no practical or sentimental value, it’s likely just taking up space.
It’s tempting to keep things because they “might” be useful in years to come but it’s important to be honest with yourself. If you haven’t used something in years and it has no sentimental or practical value, it will just take up unnecessary space.
The more decisive you are during sorting, the easier the rest of the process becomes.
What About Sentimental or “Maybe” Items?
Try this:
- Give yourself a 6-month trial box
- Take photos before donating
- Ask: Would I buy this again today?
- Limit keepsakes to one labeled bin
Now you’re solving emotional clutter, not just physical clutter.
5. Consider a Dumpster for Large Cleanouts
If your garage has accumulated years of junk, broken furniture, car parts, or bulky items, you may realise that a quick trip to the tip won’t be enough. This is where renting a dumpster can make a significant difference.
Using dumpsters for easy cleanup allows you to dispose of large volumes of debris quickly and efficiently. Instead of making multiple trips to the landfill or waiting weeks for a pickup, you can toss everything directly into one container and have it hauled away when you’re done.
A dumpster is especially helpful if you’re clearing out after a renovation, have extremely large items to shift, or you want the job completed as quickly as possible.
Although it is an added expense, the convenience and time savings tend to make it worthwhile.
6. Dispose of Hazardous Materials Safely
Garages tend to be full of dangerous items like paint cans, oil, pesticides, batteries, and cleaning chemicals.
These cannot simply be tossed into your regular household bin. They must be disposed of properly.
Check with your local waste management centre about the procedure for disposal of hazardous material. There may be particular drop off locations or a pick up service available.
Never pour chemicals down the drain or into the garden. Responsible disposal is essential.
7. Install Smart Storage Solutions
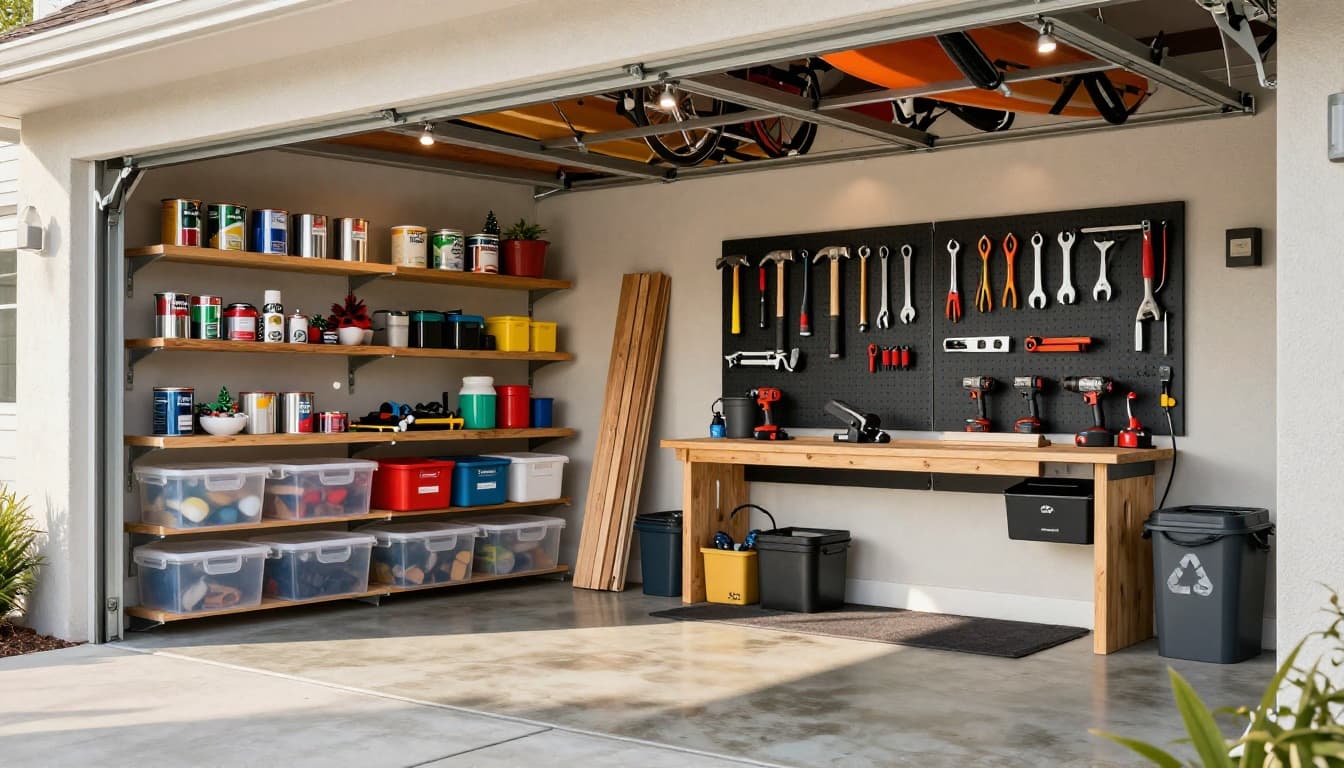
Before you put your “keep” items back in the garage, it’s time to organize what remains.
The only way to maintain a clean garage is to give everything a designated place. Invest in some smart storage to maximise the square footage of the area and keep things from cluttering up the floors and surfaces.
Consider installing items such as wall-mounted shelving, overhead storage racks, pegboards for tools, vertical bike racks, and labelled containers for small items like nails.
Common Garage Cleanout Mistakes
- Keeping items “just in case”
- Buying storage before decluttering
- Leaving sentimental decisions for later
- Not setting a maintenance plan
8. Create Zones
Keep similar items together to create logical zones within your garage for better organization and ease of maintenance.
For example, you could keep your gardening supplies in one area, tools and car accessories in another, sports equipment in one corner, and Christmas decorations out of sight.
This makes it easier to find items and return them to their proper place, thus maintaining order.
9. Create a Maintenance Schedule
Clearing out your garage is one thing but keeping it clean is the challenge.
Set a simple maintenance schedule to avoid it falling back into chaos. Opt for a quick tidy up once a month, and reassess completely every six months with a thorough clearout.
Be strict about what you bring into the space as you want to stop clutter rebuilding over time.
Garage Cleanout Checklist
- Define your goal
- Empty everything
- Deep clean
- Sort into four piles
- Dispose of junk
- Install storage
- Create zones
- Schedule maintenance
10. Enlist Help
If this all sounds like a bit too much, there’s no reason why you have to do it alone. Get other family members involved in the cleanout process.
If you live by yourself, then friends or neighbours will suffice. A shared effort gives everyone accountability for keeping the space organised and makes the project faster and more enjoyable too.
Keep Your Garage Clutter-Free for Good
Clearing out your garage doesn’t have to feel overwhelming. With a clear goal, a structured plan, and consistent maintenance, you can transform the space into something functional and usable again.
Once it’s organised, protect your progress. Small, regular resets will keep clutter from taking over again.
Please pin one of these images to your favorite Pinterest board.
This simple share makes a big difference to my blog. Thank you!