5 Best Practices for Maintaining and Storing Crimp Tools
Crimp tools play an important role in creating safe and consistent wire connections. Over time, dust, moisture, and wear can affect their performance. Taking a few simple steps to care for these tools helps maintain their accuracy and extends their service life. Proper maintenance and storage protect the tool’s quality and keep each crimp precise and dependable.
This guide explains the best methods for keeping crimp tools in top shape through cleaning, lubrication, inspection, safe storage, and calibration. Each section offers clear steps that anyone can follow to avoid premature wear and poor connection results. By following these practices, anyone can keep their tools ready for daily use and prevent costly interruptions.
Clean Crimp Tool Jaws Regularly to Prevent Buildup
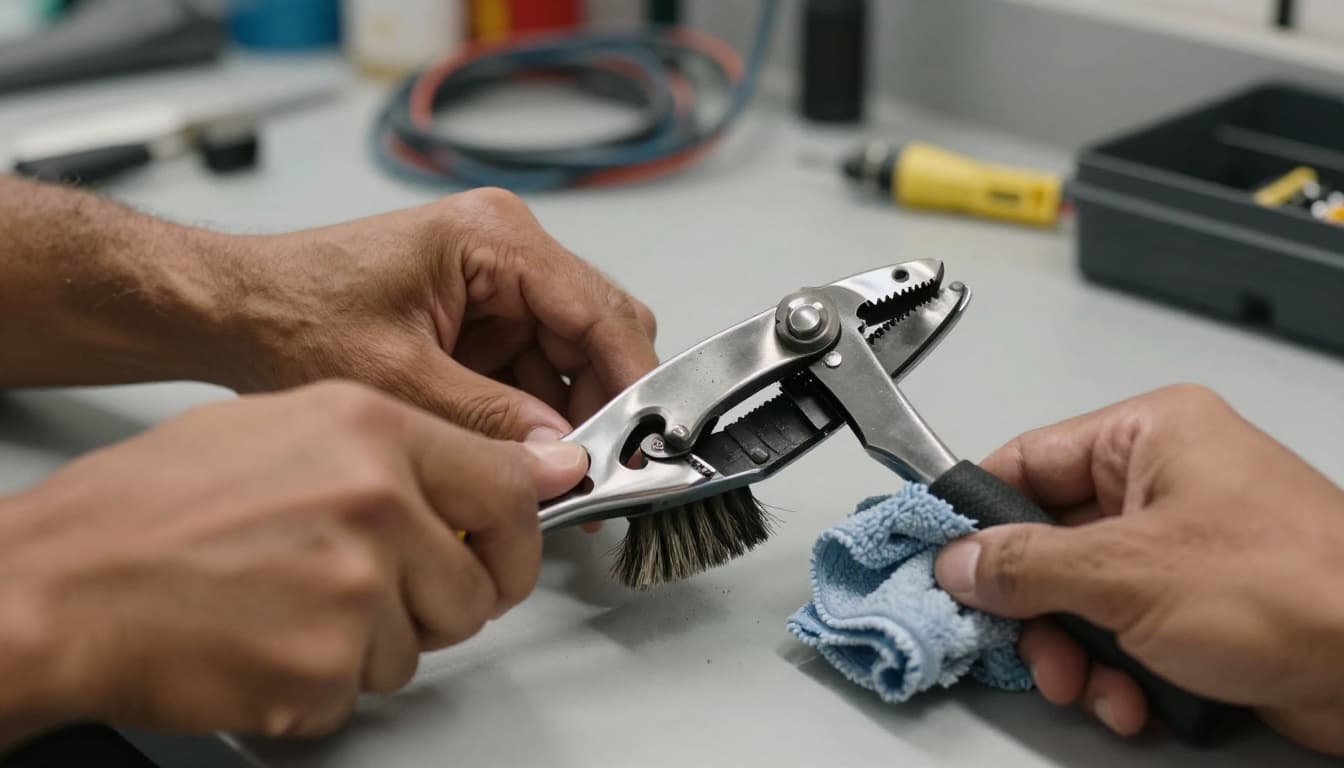
Debris, dust, and small metal particles often collect on the jaws of heavy duty crimp tools after repeated use. This buildup can affect the quality of the crimp and cause uneven pressure on the connector. Regular cleaning helps maintain consistent performance and prevents long-term wear.
A soft cloth or small brush works well to clear dirt from the tool’s jaws and moving parts. Users should avoid harsh abrasives that could scratch or weaken the surface. In many cases, a light solvent or mild cleaning solution can remove sticky residue.
After each cleaning, technicians should inspect the jaws to confirm they remain aligned and free from damage. Any dull or worn edges should be repaired or replaced before the next job. Keeping the jaws clean not only maintains accurate crimps but also extends the service life of the tool, saving time and cost over repeated projects.
Lubricate Moving Parts Monthly for Smooth Performance
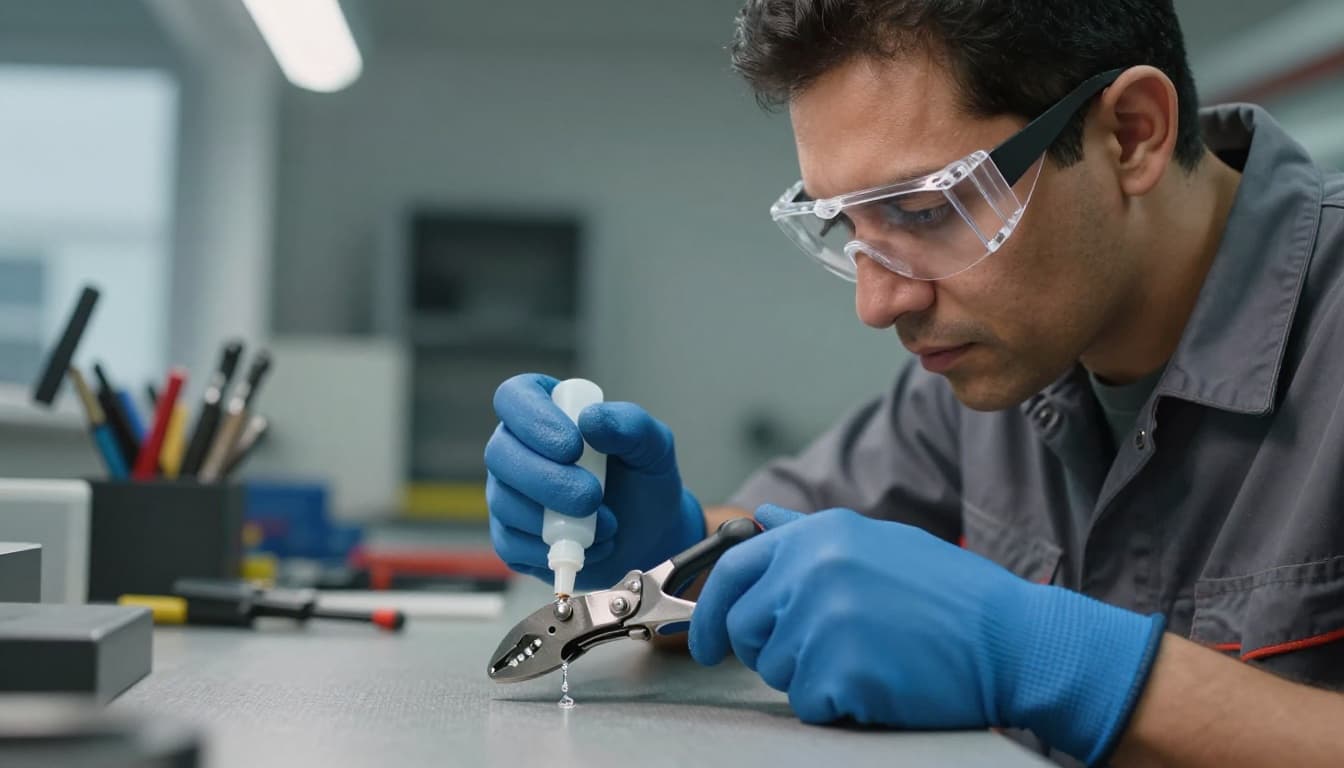
Regular lubrication helps crimp tools move freely and prevents unnecessary strain on joints and hinges. A small amount of light machine oil or dry lubricant keeps these parts from sticking or corroding. Monthly care builds a habit that prevents wear before it becomes a problem.
Before applying any lubricant, users should wipe away dirt or metal shavings with a clean cloth. This step prevents debris from trapping moisture or grit inside joints. Fresh lubricant then forms a thin layer that allows the parts to move smoothly and consistently.
It is best to follow the tool’s manual for recommended lubricant types and application points. Too much oil can attract dust, while too little may not provide enough protection. Consistent attention each month helps extend tool life and keeps performance steady under regular use.
Inspect Tool Jaws for Wear or Damage Before Each Use
Before each job, users should take a close look at the jaws of the crimp tool. Even small chips, cracks, or rough edges can reduce how well the tool grips and compresses the connector. Regular inspection helps prevent poor crimps that may cause weak electrical or mechanical connections.
The jaws should fit together properly with no visible gaps or looseness. Dirt, rust, or worn metal can change the pressure or alignment between the jaws. If any defect appears, the user should stop and repair or replace the tool instead of forcing it through a crimp.
Keeping the jaws clean and free from debris also helps maintain tool life. A soft brush or dry cloth can remove residue without scratching the surface. By checking the jaws before use, workers avoid tool damage and maintain consistent results in every application.
Common Crimp Tool Mistakes to Avoid
- Skipping jaw inspections before starting a job
- Using damaged or worn jaws instead of repairing or replacing them
- Over-lubricating moving parts, which can attract dust and debris
- Storing tools in damp or exposed areas
- Ignoring manufacturer calibration schedules
Avoiding these mistakes helps prevent poor crimps, tool damage, and unexpected downtime. Small habits make a big difference over time.
Store Crimp Tools in a Dry, Dust-Free Environment
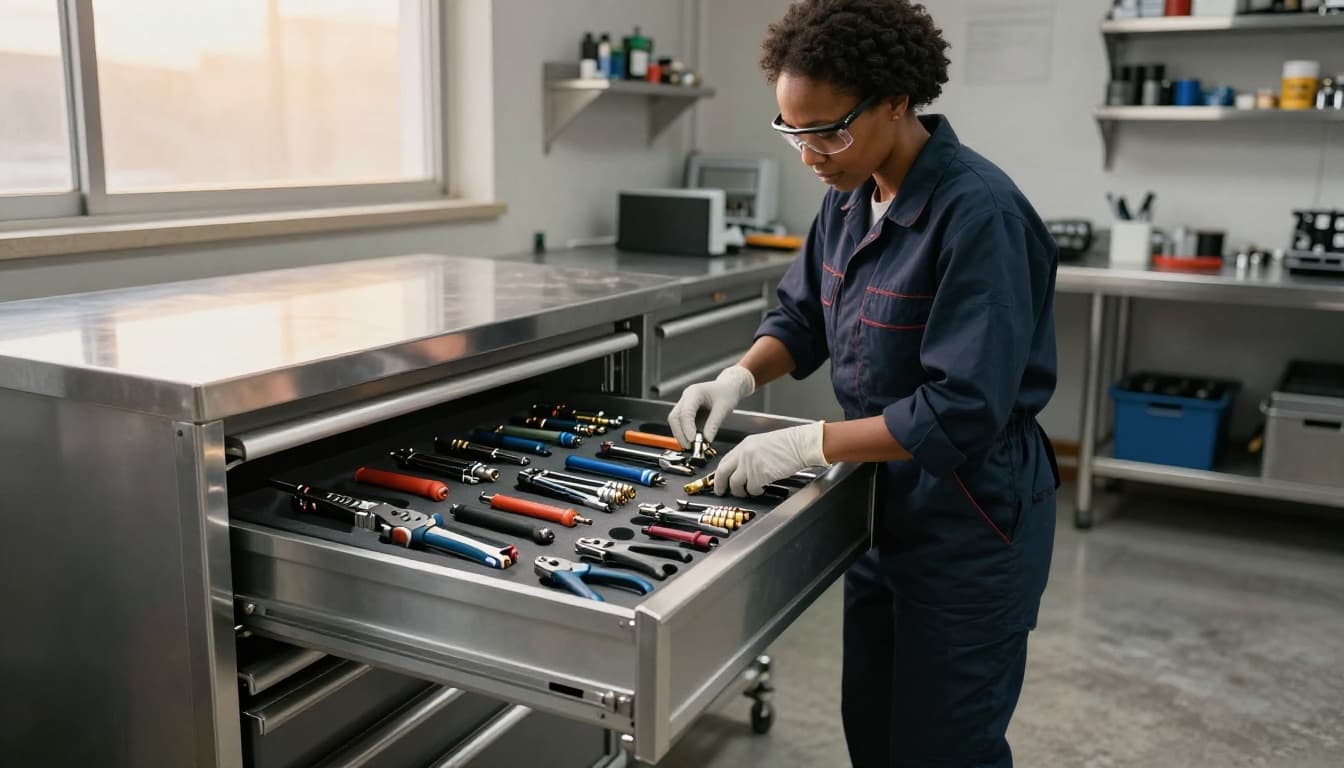
Moisture can cause rust and reduce the lifespan of crimp tools. To prevent this, they should stay in a dry space away from water, humidity, or direct sunlight. A tool cabinet or sealed toolbox provides good protection against moisture and dust.
Dust and debris can affect moving parts and cause damage over time. Keeping tools in a clean environment helps maintain smooth operation and prevents corrosion. It also keeps the jaws and other contact areas free from buildup that affects accuracy.
Use Padded Surfaces to Protect Alignment and Finish
Place crimp tools on padded surfaces instead of hard shelves or floors. This reduces scratches and absorbs impact if the tool is moved or dropped. Soft padding like foam or cloth also protects the tool’s base plate and jaw alignment.
A well-kept storage area with controlled humidity and gentle support keeps crimp tools in good condition. As a result, they remain precise and safe to use for a longer period.
Calibrate Crimp Tools According to Manufacturer Guidelines
Regular calibration keeps crimp tools accurate and consistent. Each tool can drift out of specification over time from wear or environmental factors. Following the manufacturer’s schedule helps verify that the tool’s pressure and alignment meet the required standards.
Calibration checks usually involve testing the crimp force, die alignment, and ratchet mechanism. If any measurement falls outside the recommended range, the tool should be adjusted or serviced. This process supports steady product quality and helps avoid connection faults.
Manufacturers often include calibration intervals in their manuals or product labels. Keeping a log of calibration dates allows teams to track performance and predict future service needs.
A controlled environment also matters. Temperature and humidity can affect tool accuracy, so calibration should occur in stable conditions. By following these steps, teams maintain dependable measurement results and prevent unnecessary downtime.
Quick Crimp Tool Maintenance Checklist
- Wipe jaws clean after use
- Remove debris from moving parts
- Lubricate joints and hinges monthly
- Inspect jaws for cracks, wear, or misalignment
- Store tools in a dry, dust-free location
- Use padded surfaces to protect alignment
- Follow manufacturer calibration guidelines
This checklist takes only a few minutes but helps keep crimp tools accurate, safe, and ready for daily use.
Simple Maintenance Habits That Extend Tool Life
Proper care helps crimp tools stay accurate, safe, and long-lasting. Regular checks for wear and correct calibration keep each tool in good working shape. Clean surfaces and dry storage also protect them from rust and dirt.
Users who follow simple habits often avoid costly mistakes or poor connections. For example, wiping parts after use and storing tools in a clean case prevents most common issues.
Each task benefits from a well-kept tool because it saves time and supports steady performance. Good upkeep requires only a few minutes but prevents many problems later.