
How to Store Seeds, Bulbs, and Gardening Supplies for Next Spring
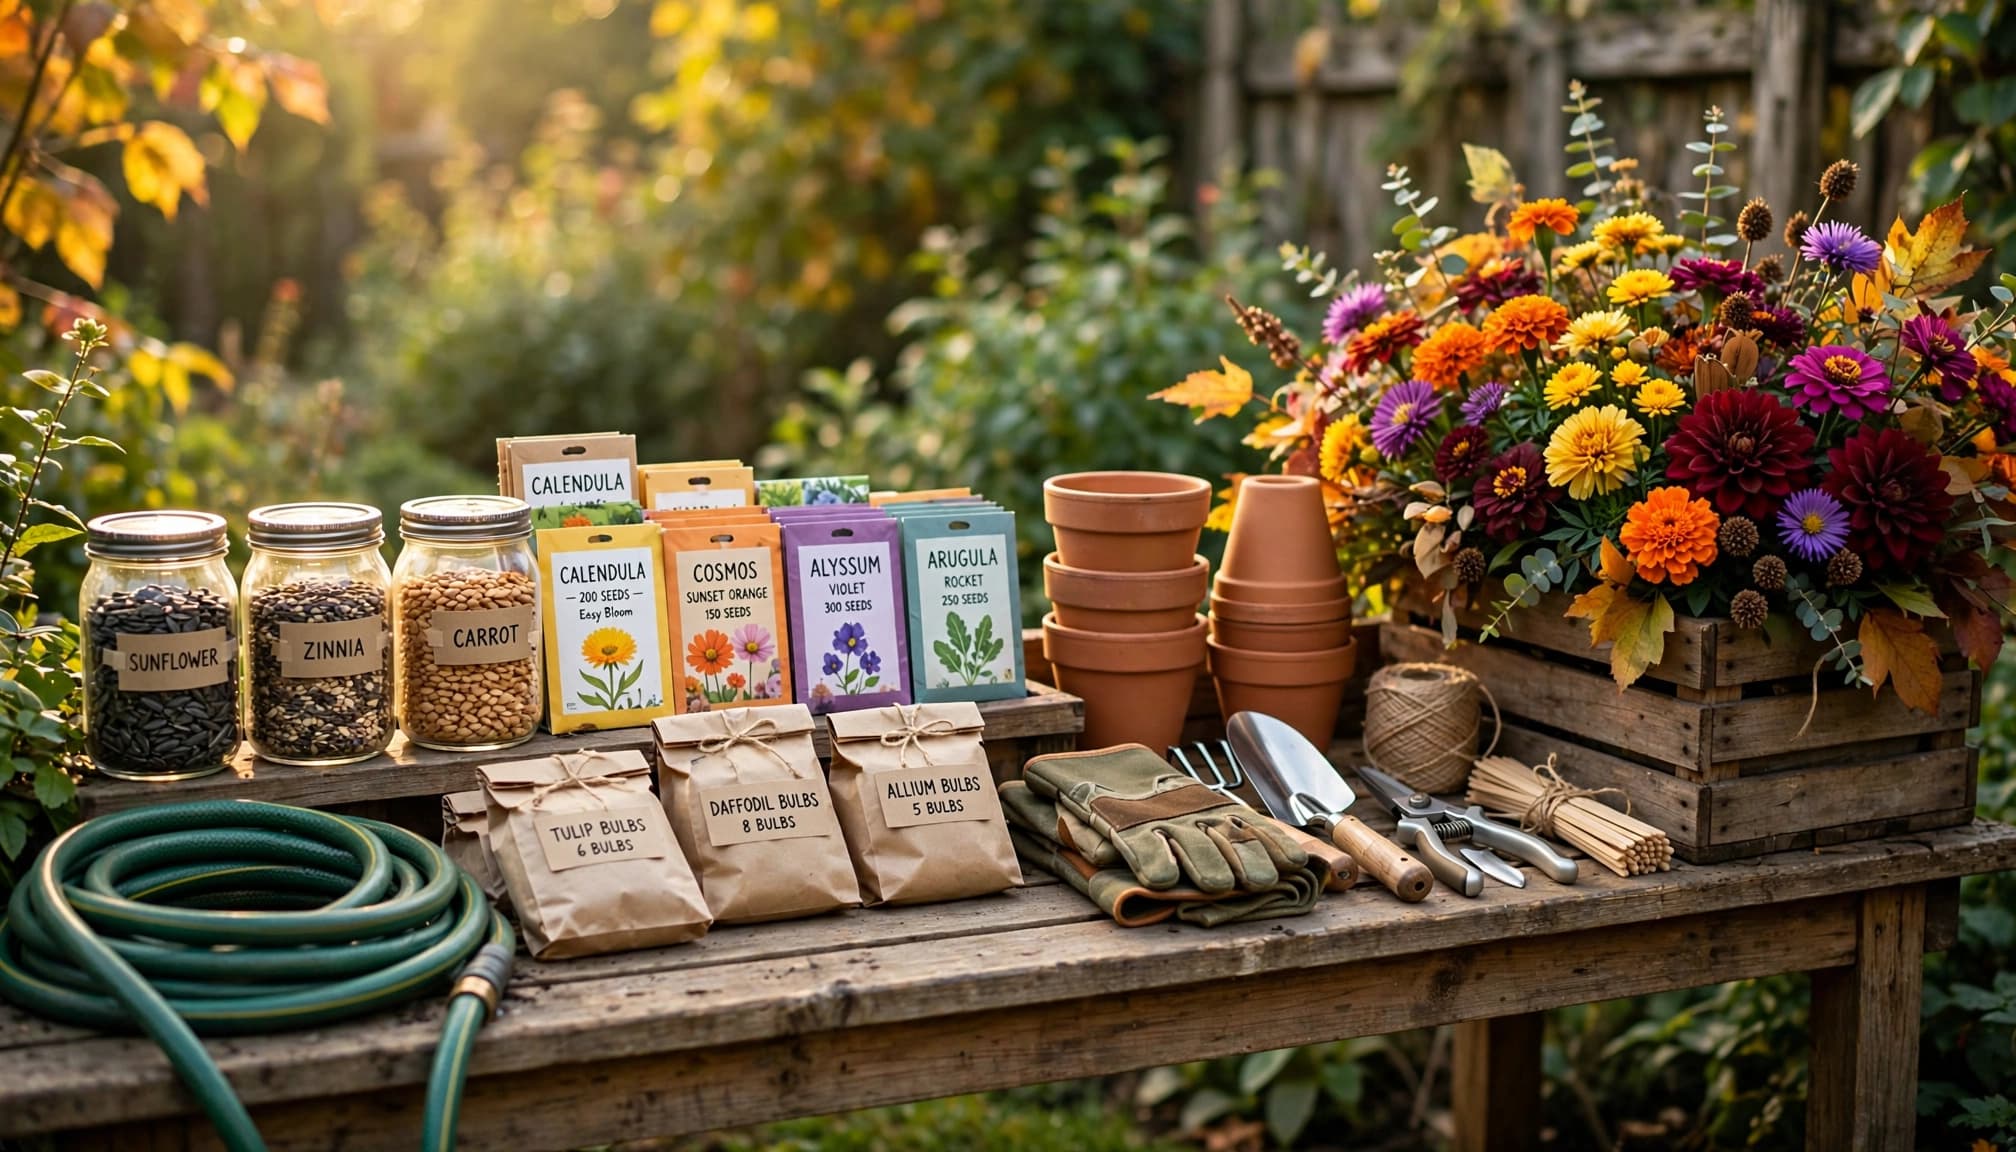
The end of the growing season doesn’t have to mean the end of your garden’s potential. In fact, how you handle the next few weeks determines how strong your start will be when the soil warms up again. Properly stored seeds germinate at higher rates, well-cured bulbs bloom bigger, and organized tools save you hours of frustration in April. Here’s exactly how to put your garden to bed the right way — and set yourself up for your best spring yet.
Why Off-Season Storage Matters More Than You Think
Seeds and bulbs are living things in a dormant state. Heat, moisture, and light are their enemies. Heat, humidity, and temperature swings can shorten seed life. Many vegetable seeds remain viable for several years when stored thoroughly dry in a cool, dark, moisture-protected container, although storage life varies by crop. The same logic applies to your equipment: dirty pruners invite rust and plant disease, and half-empty fertilizer bags absorb moisture and clump into unusable bricks. A little intentionality now protects hundreds of dollars in supplies.
How to Store Seeds So They Actually Germinate
The golden rule of seed storage is simple: cool, dark, and dry.
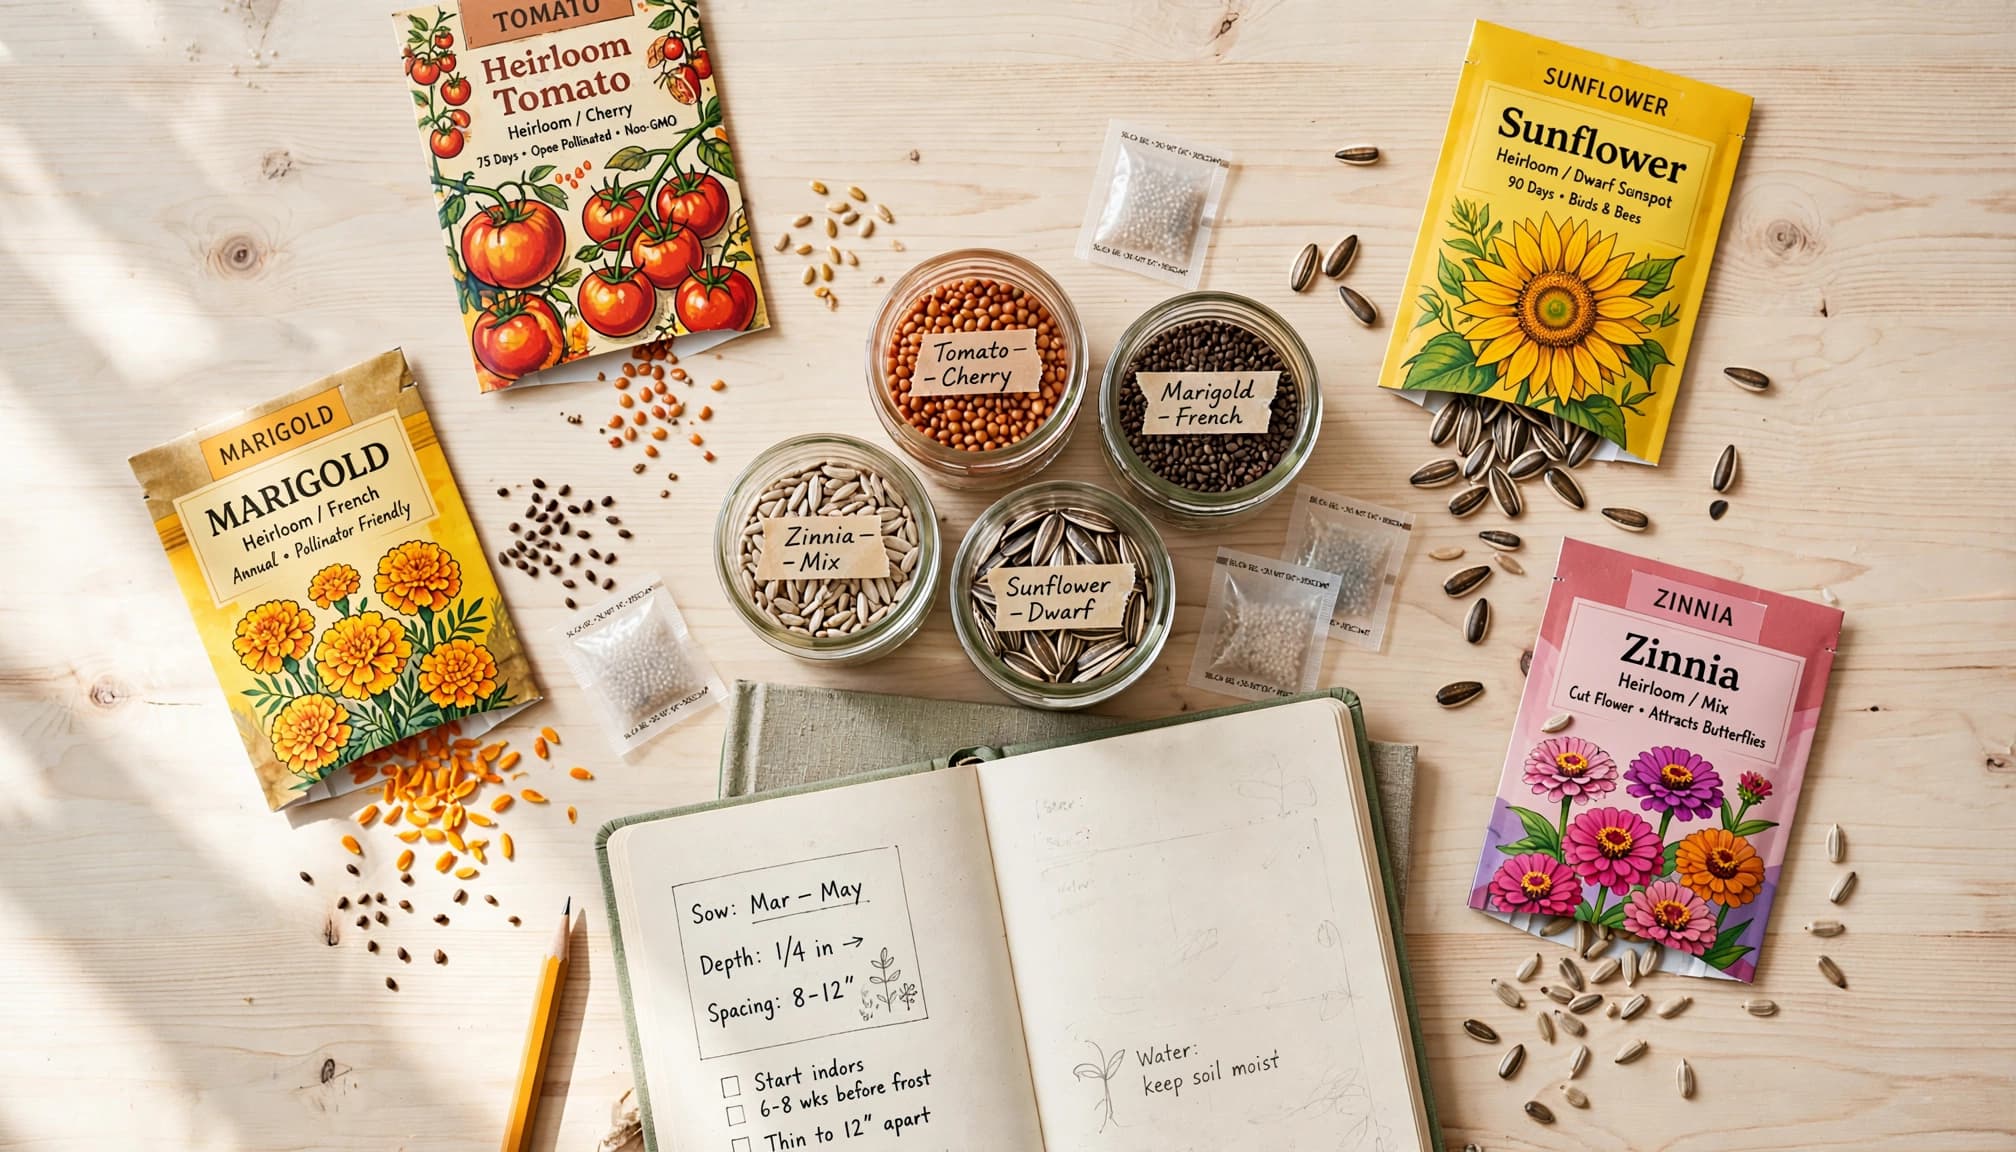
- Dry seeds completely first. Spread harvested or leftover seeds on a paper towel for a week before packing. Any residual moisture leads to mold.
- Use airtight containers. Mason jars, photo-storage cases, or zip-top bags inside a lidded bin all work well. Add a silica gel packet or a tablespoon of dry rice to absorb humidity.
- Label everything. Include the variety and the year. Future you will thank present you.
- Aim for 32–41°F if possible. A refrigerator is ideal, but any consistently cool, dark spot beats a fluctuating garage shelf.
Quick viability tip: before spring planting, place ten seeds between damp paper towels for a week. If seven or more sprout, your batch is still in great shape.
Storing Bulbs Without Rot or Shrivel
Tender bulbs like dahlias, gladiolus, cannas, and begonias won’t survive frozen ground in most climates, so dig them up after the first light frost blackens the foliage. Then:
- Cure them in a dry, ventilated spot for one to two weeks so the outer skin toughens.
- Brush off soil — don’t wash it. Water invites rot.
- Pack in breathable material such as peat moss, sawdust, or paper bags. Never seal bulbs in plastic.
- Store at 40–50°F in a spot with good air circulation, and check monthly. Toss anything soft or moldy before it spreads.
Hardy bulbs like tulips and daffodils are the opposite — they want to be in the ground before winter, so plant those now rather than storing them.
Cleaning and Storing Tools the Right Way
Ten minutes of tool care in fall prevents an hour of scrubbing in spring:
- Wash soil off shovels, trowels, and hoes, then dry thoroughly.
- Wipe pruner blades with rubbing alcohol to kill lingering pathogens.
- Rub a light coat of oil on metal surfaces to block rust.
- Sand rough wooden handles and finish with linseed oil.
- Drain hoses fully and coil them loosely — kinks in freezing temps become cracks by March.
Liquid products deserve attention too. Fertilizers and treatments should be sealed tightly and kept somewhere they won’t freeze, since freezing can separate and ruin many formulas.
Give Everything a Dedicated Home
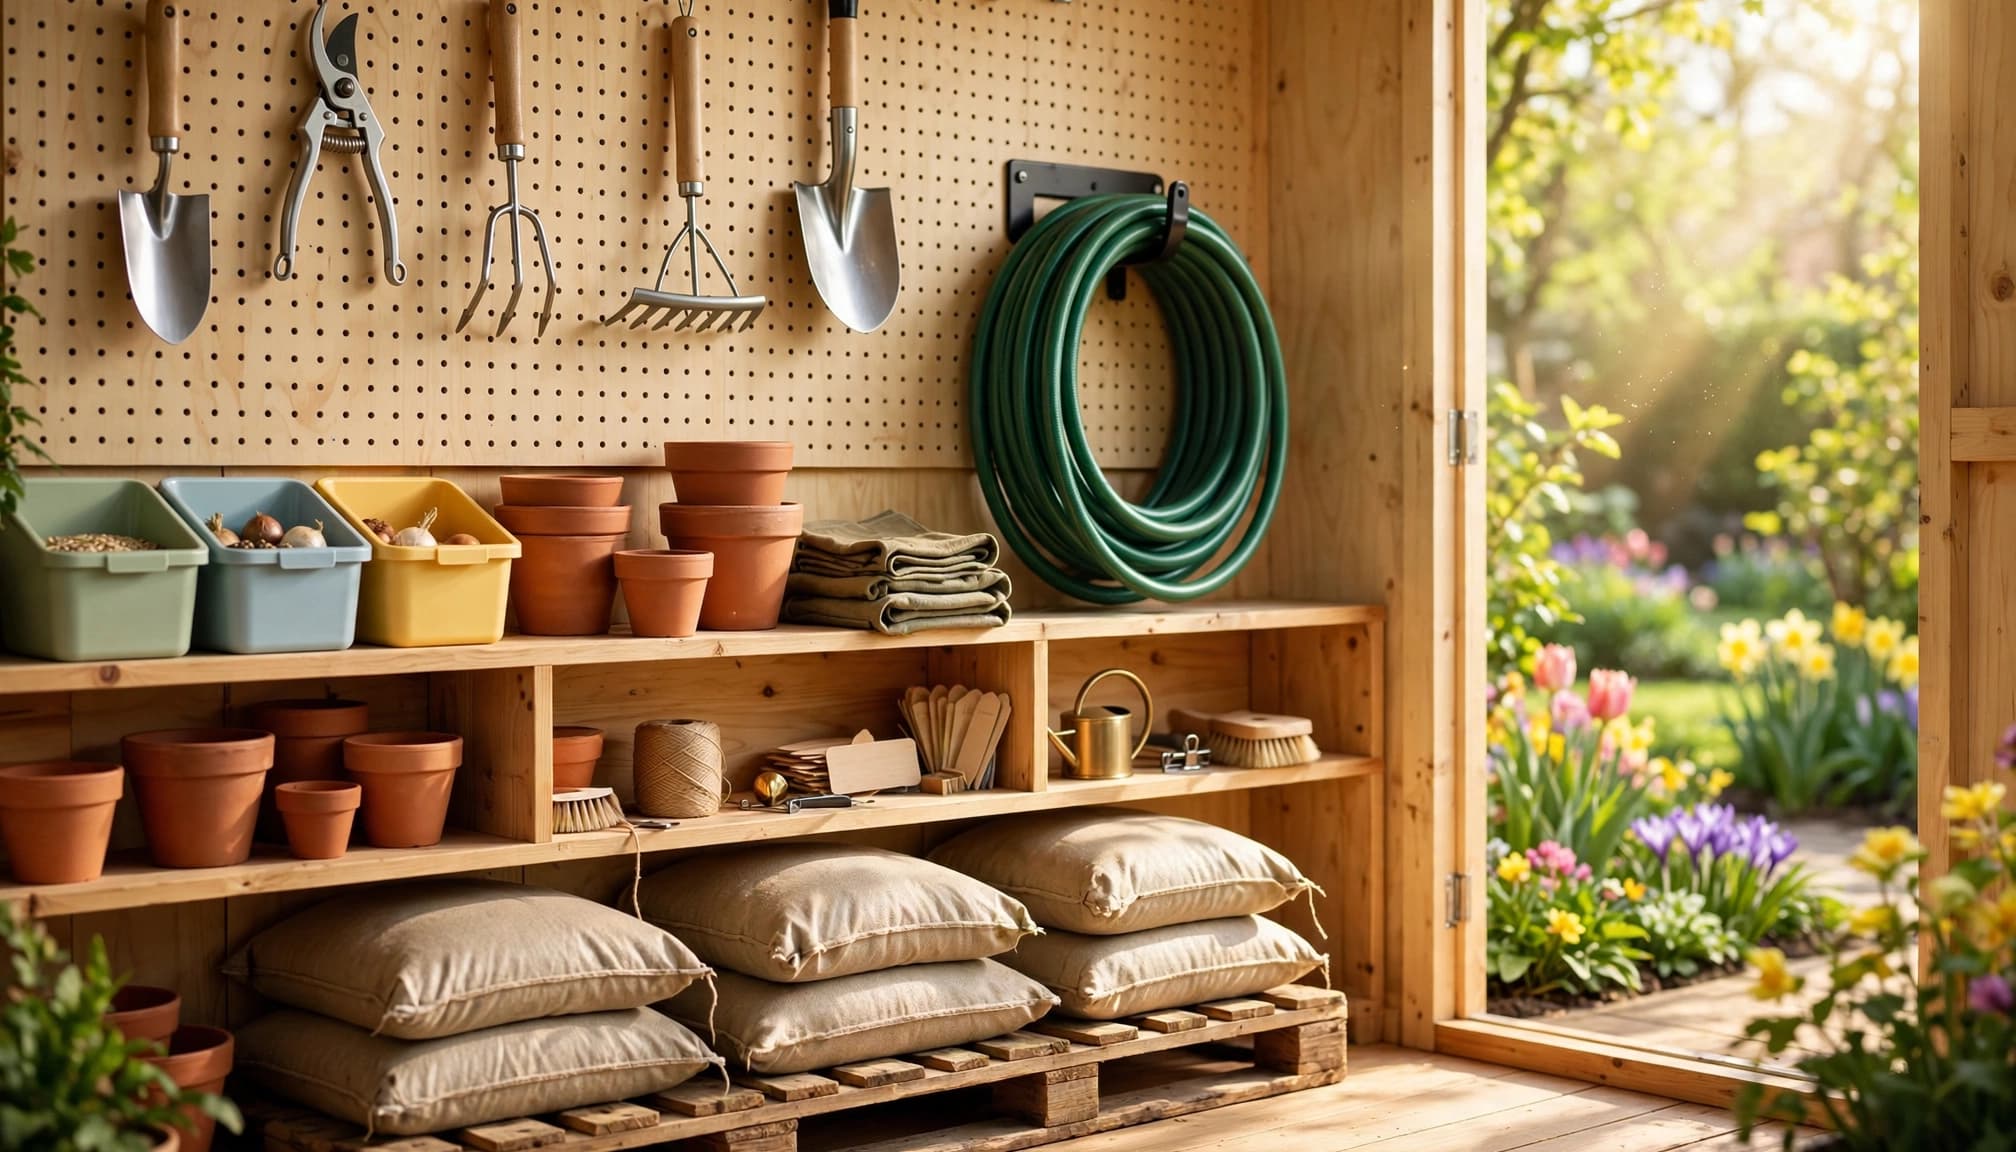
The single biggest upgrade most gardeners can make isn’t a product — it’s a system. When seeds, bulbs, tools, and soil amendments each have a designated, weather-protected spot, spring setup takes minutes instead of a weekend. This is where a quality outdoor storage building earns its keep. Keter’s new 9×7 Artisan 2.0 shed offers the kind of ventilated, weather-resistant space that keeps humidity swings and pests away from your supplies, with enough room for shelving seed bins at eye level, hanging long-handled tools on the walls, and stacking bagged soil off the floor. Because resin construction won’t rot, rust, or need repainting, it stays as low-maintenance as the storage routine you’re building.
Organize your space in zones: a shelf for seeds and small supplies, wall hooks for tools, floor space for bags and pots, and a corner for the wheelbarrow. Keep the items you’ll grab first in spring — seed trays, labels, hand tools — closest to the door.
A Simple Fall Checklist
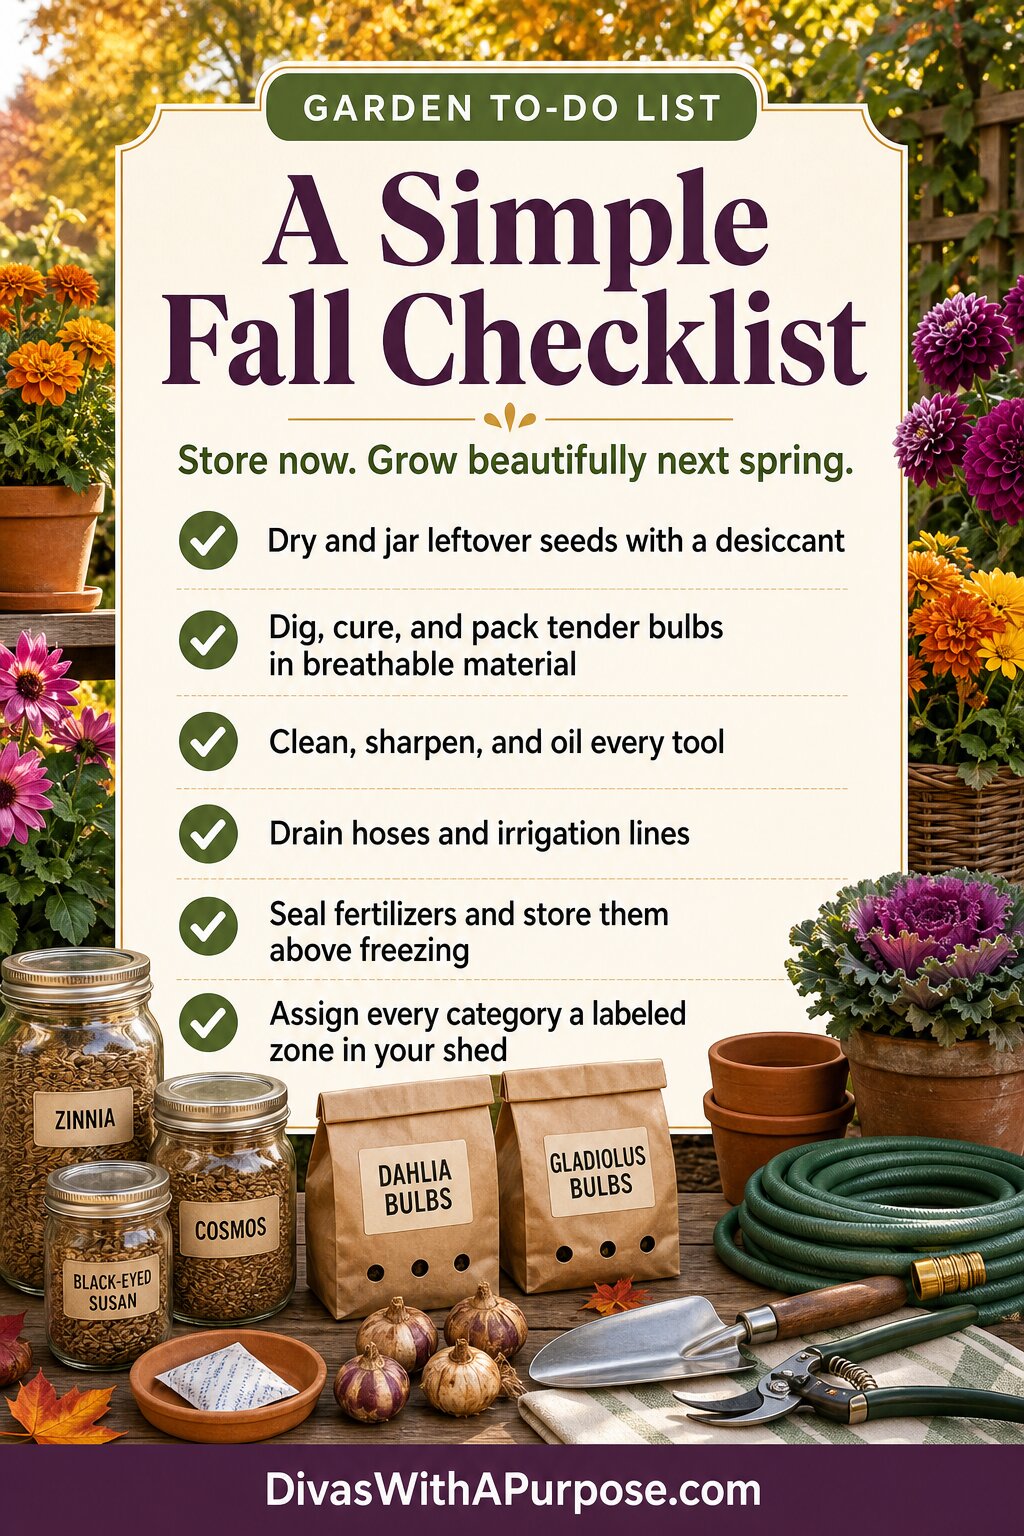
- Dry and jar leftover seeds with a desiccant
- Dig, cure, and pack tender bulbs in breathable material
- Clean, sharpen, and oil every tool
- Drain hoses and irrigation lines
- Seal fertilizers and store them above freezing
- Assign every category a labeled zone in your shed
Great spring gardens are built in the fall. Store seeds cool and dry, cure bulbs before packing them in breathable material, clean your tools before they hibernate, and give it all an organized, protected home. When the first warm weekend arrives, you’ll be planting while your neighbors are still untangling hoses — and your garden will show the difference all season long.